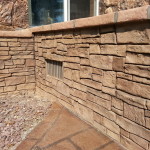
Handcrafted Stone Driveway and Entryway
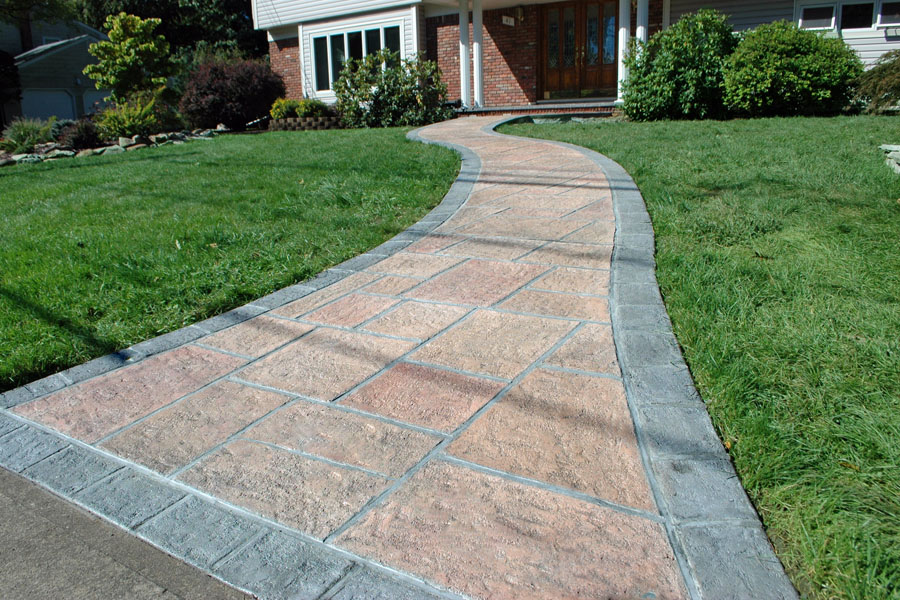
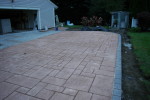
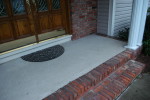
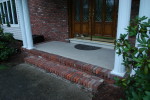
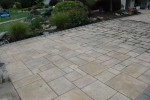
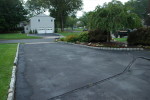
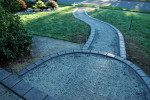
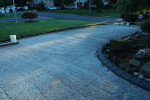
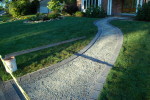
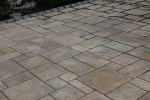
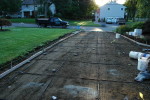
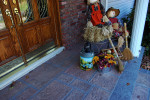
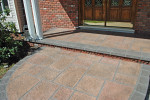
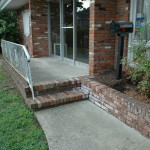
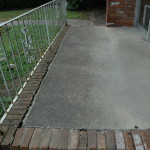
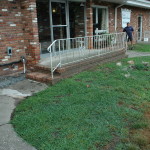
/in Blog /byThis project involved a decorative concrete driveway, front entryway, and sidewalk. Decorative curbs accented both the driveway and the sidewalk. One side of the border was raised to act both as a curb and an effective way to contain a landscaped area. These borders are integrally colored and poured in a separate step from the rest of the driveway in order to preserve the color difference for the lifetime of the product. Stains were utilized to offset and individualize different areas of the pattern. An antique wash was done over the entire surface for a natural, variegated look. The existing front porch was in good shape, but in need of a face lift. The clients wanted to add a new sidewalk that would extend from the existing porch to the sidewalk along the street. We resurfaced the existing porch first with a structural coat that corrected the pitch and covered the gap between the concrete and the brick border. Once this was done and the structural slab was poured for the new sidewalk, we poured integrally colored accent borders. These borders are more durable than any other process due to the fact that they are integrally colored and done in an entirely separate step than the field pattern. After the borders were complete, we poured the integrally colored random ashlar stone. We then acid washed both the sidewalk and the porch as a way of pre aging the concrete and to prepare it for accent stains and antiquing. We used several colors of accent stains to tie in the existing brick work on the front of the home and then used an antiquing wash over everything. We then grouted the stone with a natural grey grout. Everything was then sealed with a triple threat sealer that is designed to densify, waterproof, and protect.
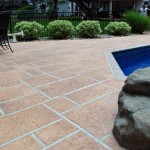
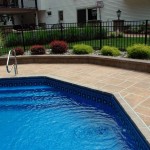
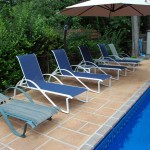
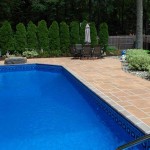
Wayne, NJ Pool Deck Resurfacing, Wide Metal Coping
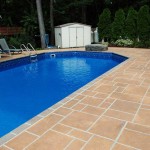
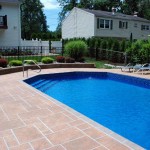
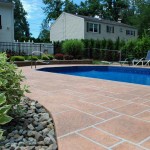
/in Blog /by toddfisherThis was a resurfacing of an existing concrete pool deck. The pool is a vinyl liner with the wide metal coping. The existing deck and some cracking and settling and the homeowners wanted to replace the skimmer and pool lines, as well as add additional patio space. Another interesting feature to this project was the addition of a dive rock. Rather than try to bring in a large natural rock with a machine, we chose to hand carve/sculpt one out of concrete. This created a functional focal point at the end of the pool, and was a very cost effective alternative.
Culver Lake Concrete Dock Restoration
/in Blog /by toddfisherThis was a restoration of an existing concrete dock on Culver’s Lake in Frankford, NJ. The existing concrete dock was a massive piece of concrete that was unsightly and really too low for the average waterline in the lake. We resurfaced the existing concrete in two steps. We first poured our structural slab which was reinforced with 1/2″ steel rebar and structural synthetic fibers. Once this was done, we applied our hand crafted stone which was done in our fieldstone pattern and grouted with a natural concrete grey grout.We did a decorative edge around the entire exterior for a finished look.
Butler, NJ Commercial Building Entryway Renovation
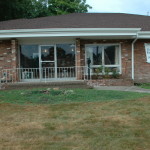
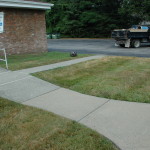
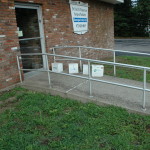
/in Blog /by toddfisherThe objective of this job was to create a more visually pleasing entrance to this commercial space, while also improving the flow of traffic. We demolished portions of the sidewalk in order to create an aesthetically pleasing shape and flow. Other areas were resurfaced in order to keep demolition costs to a minimum. We also raised the existing grade in efforts to eliminate the need for railings. With the new design, we were able to eliminate all steps and take the steep pitch out of the ramp and bring it over a longer distance. We also poured decorative concrete wall using our formliners in a stacked fieldstone pattern. The wall was then capped with our decorative concrete tile to match the sidewalks. These concrete walls are an alternative to split faced block walls and can be more decorative while also being much stronger.
Oakland, NJ Patio Resurface 2013
/in Blog /by toddfisherThis existing patio was structurally sound, but very plain and stood out in this well kept backyard. The homeowners wanted to update the look of the area with the look of stone and add on an additional patio space creating a continuous look. We also added a cantilevered edge to the step leading to their pool as well as a textured plaster finish to the riser detail.
Marbleized Wave Sink
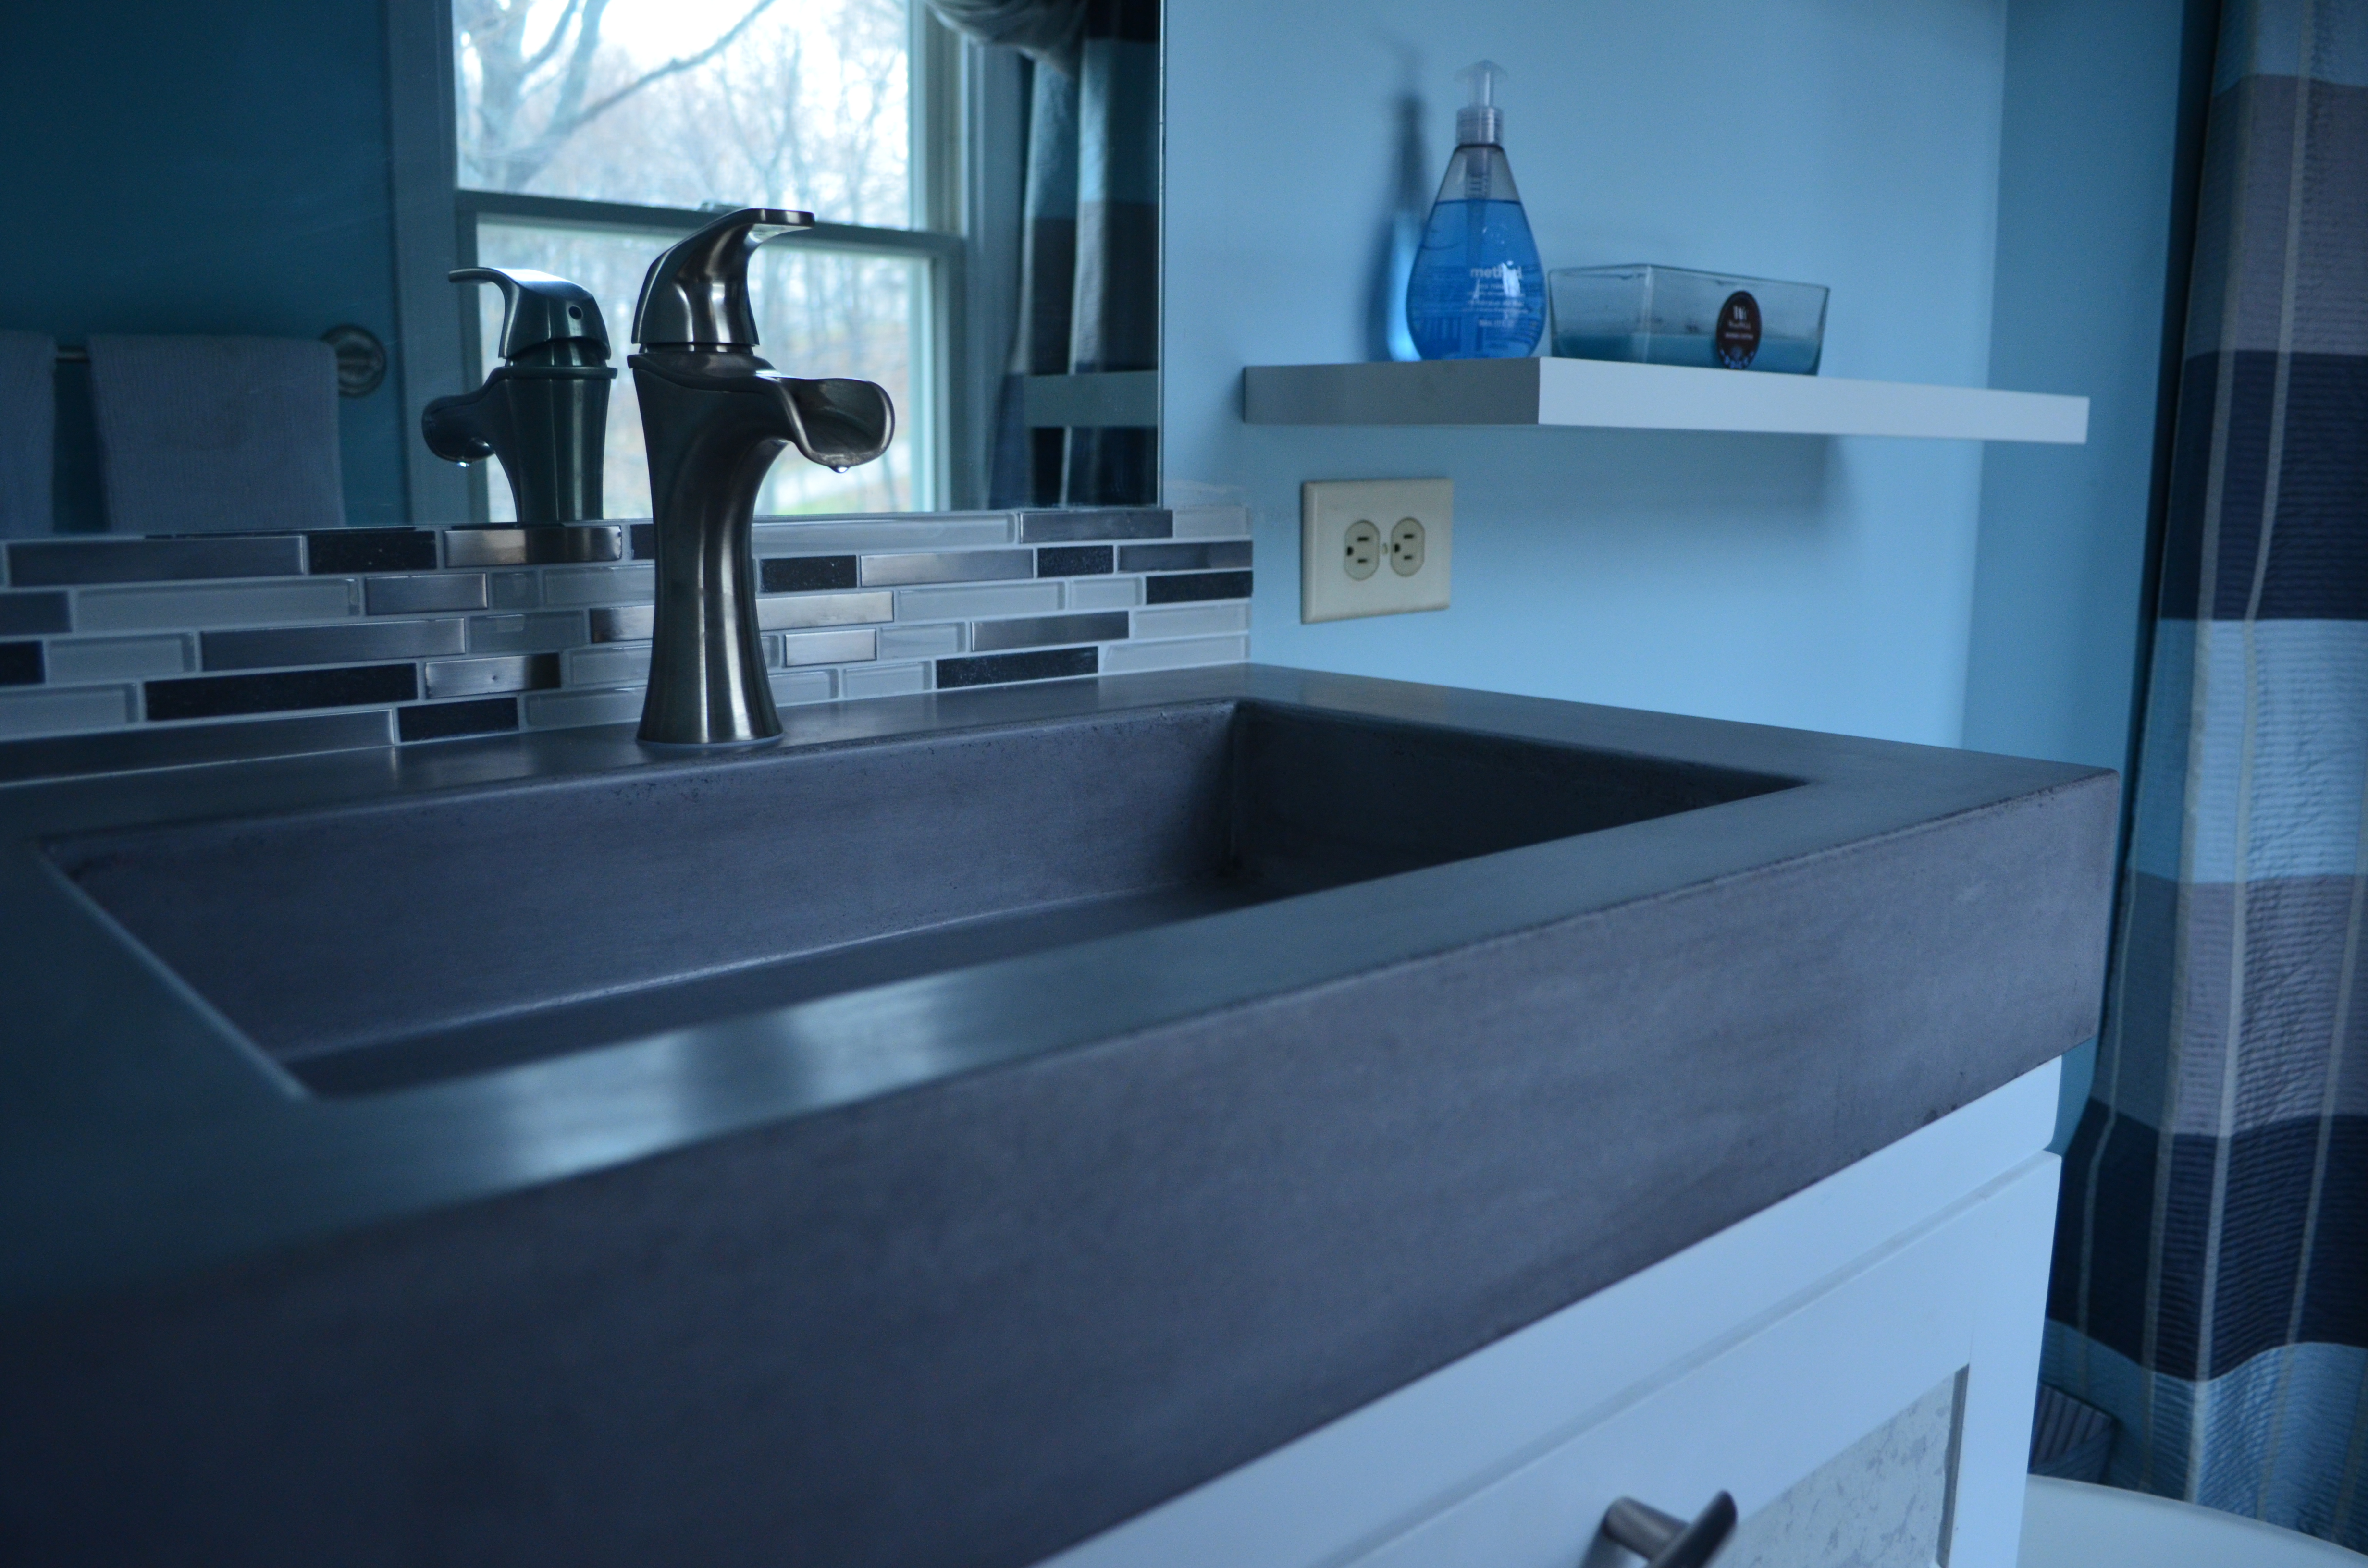
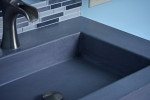
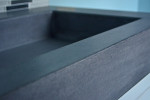
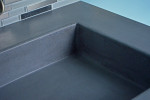
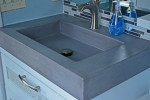
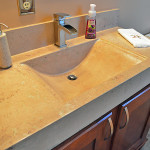
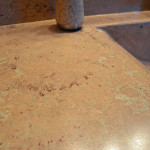
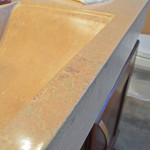
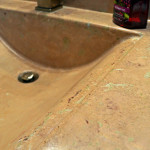
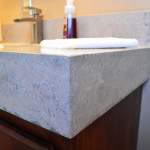
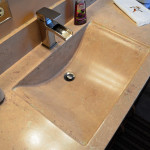
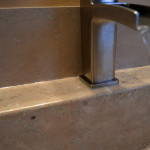
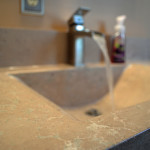
/in Blog /by toddfisherThis sink was custom sized for this specific location. Due to the bathroom size, a standard vanity and sink would not fit. With precast concrete, we have the ability to design and build a completely customized sink and counter. Any size, color, and shape can be accomplished to fit any room or location. This sink was done with a wave bowl and had a marbleized surface. The base color of the sink was done in a neutral tan with grey variations. The sink was also infused with a walnut dye to match the custom built vanity. We were able to achieve a customized organic looking sink with concrete. We also made a back-splash to match the sink and countertop. A waterfall faucet perfectly complemented this custom sink.
Bathroom Concrete Tile Floor
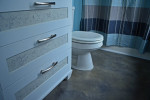
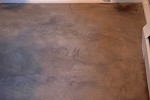
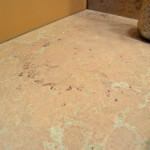
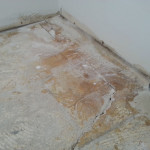
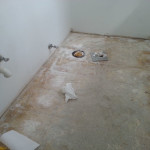
/in Blog /by toddfisherThis guest bathroom had a concrete floor that was covered with carpet to hide the fact that it was badly cracked and settled. While being a relatively small bathroom, the floor the floor was almost an 1 1/2″ out of level. There were also several major cracks in the floor. The first step was to clean the floor and repair the cracks and prepare the new heights of the floor. We could not fully correct the out of levelness due to the existing door opening, but were able to bring it to an acceptable level that would not be noticeable. The floor was then poured and textured, then embossed with the 12″ square tile pattern. Once the floor was cured we stained, grouted and sealed. Since this was a small room, we went with a grout that matched the concrete tile color, this cut down on the individuality of the tiles and created a more monolithic floor. The floor was finished with a wax to help with maintenance.
Jefferson Pool Deck Resurfacing
/in Blog /by toddfisherThis was a stamped concrete pool deck that was over 17 years old. The main reason the homeowners were looking to upgrade the pool deck was due to a partial collapse of the pool wall after a hurricane. The deep end of the pool was undermined and in order to repair this, part of the pool deck needed to be removed. Rather than replace that section and have a patch, they opted to resurface the entire deck for an updated look. We began by pouring the coping which would be a different color than the deck. Without demolition, we are able to go right over top of the “C” style coping and not interfere with the liner at all. Once the coping was complete, we poured the structural slab to correct any pitch issues and achieve a uniform depth for our stone. Once the handcrafted stone was in place, we grouted the entire job with a dark grey color to offer contrast. There was also a decorative medallion placed near the steps entering the pool.
Handcrafted Stone Over Wooden Deck
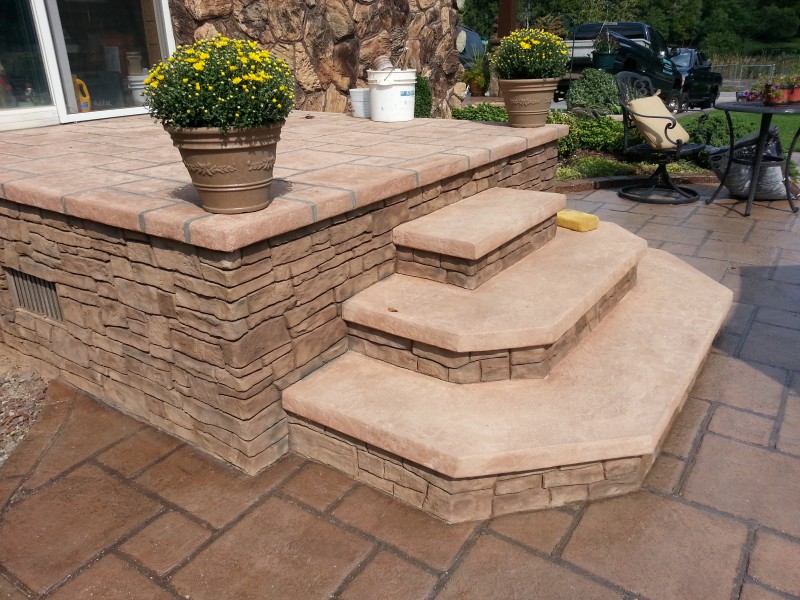
/in Blog /by toddfisherThis project was done to create a more decorative transition from the home to the patio area. Rather than just having steps leading into the home, we created an elevated entertaining area with stone accents on the vertical areas and steps that created a focal point. Rather than create a structure out of masonry, which would require footings around the entire perimeter, we chose our method of covering elevated wooden structures. With this method, we would only require two footings to be poured just as you would with a typical elevated deck of this size. The deck was then constructed just as an ordinary deck would be, with the only exception being the incorporation of pitch for drainage since the top decking would be solid surface. We then secure plywood to the sides to create a surface that would be covered with a stone. The entire surface is then wrapped in a waterproofing material and that is then covered with wire lathe. All of the vertical portions and the horizontal areas were then scratch coated with a cementious material to created a bonding layer. We then create our handcrafted stone over the entire horizontal areas of the deck including the steps. Once these areas were complete and grouted, we could focus on the vertical areas. The verticals were covered with our vertical handcrafted stone done in a ledgestone pattern. This process involves hand carving and sculpting the concrete to take the shape of a natural stone. This can be done with any colors in mind or any style, and is an attractive alternative to lattice or other similar materials used to cover vertical portions of decks. As a side note, this type of construction is not only more cost effective than typical masonry construction, but can also be completed in a much quicker time frame.
News & Press
- Benefits of Stamped Concrete February 16, 2025
- Stamped Concrete Pool Patio Milford, Pa Pike County Pennsylvania February 14, 2025
Join Our Mailing List
Contact Us
Unique Concrete
Wantage, NJ 07461
Phone: (973) 703-1789
Email: todd@uniqueconcretenj.com
Web: uniqueconcretenj.com
NJHIC: #13VH12500400

